

Ultimate Guide To The Mission Peak Hike in Fremont
Looking for a classic Bay Area hike for your next hangout? You need to try the Mission Peak hike in Fremont where you’ll be treated to amazing views and cow encounters along the rolling hills.
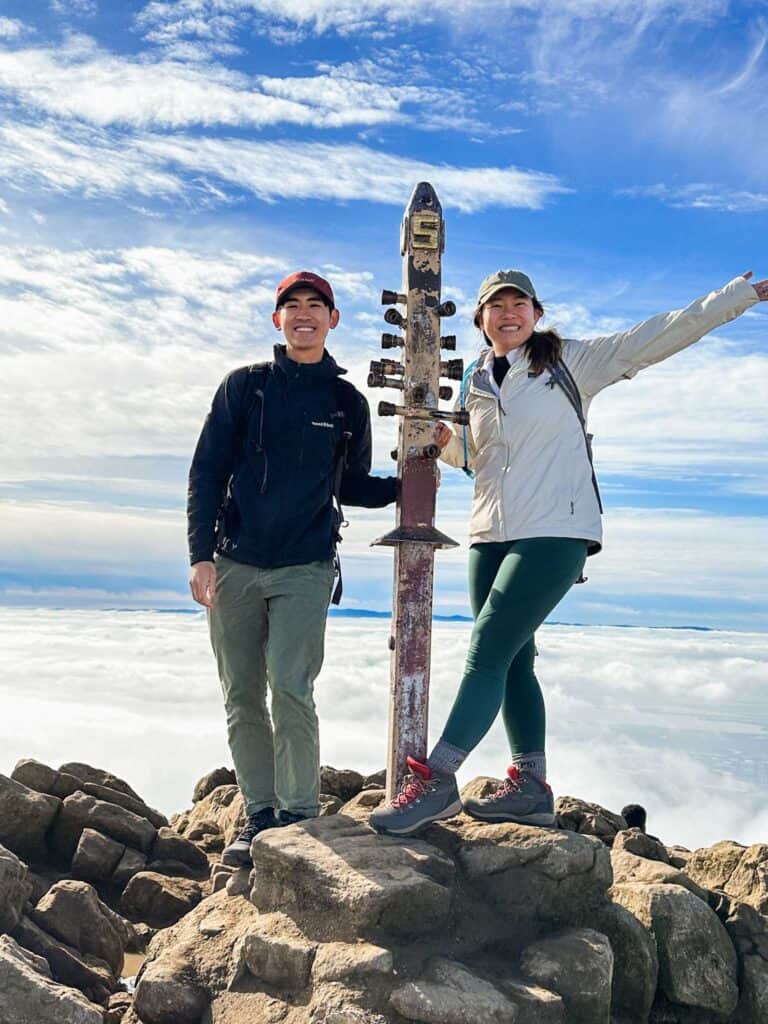
The highest point on Mission Peak is 2,520 ft tall (768 m), making this East Bay hike a popular challenge. Every weekend you’ll see many people hiking here, in an attempt to reach the top for a photo with the Mission Peak pole. This hike is known to be difficult because of its persistent steepness, making it all the more rewarding to complete.
We were looking for something to do on a long weekend, and thought maybe completing the Mission Peak hike would make us real Bay Area residents. Hence, we set off on our Mission Peak hike in anticipation of Jollibee fried chicken as our post-hike reward.
In this guide, I’ll share what we learnt through our Mission Peak hike to show you what you can expect there and the gear that made a huge difference. I’m hoping that this will enable you to take on this challenge with confidence.
This article uses affiliate links where I make a small commission if you make a purchase through my links, at no additional cost to you. As an Amazon Associate I earn from qualifying purchases.
About the Mission Peak hike
There are a few ways to get to Mission Peak, but we’ll focus on the classic route that’s recommended for a first-time hike here.
Where do you start for the Mission peak hike?
The classic route starts from the Stanford Avenue Staging Area. Parking is free, and you’ll have access to toilets and tap water. However, there are only 43 parking spots which fills up quickly during weekends and holidays. Hence, most of the time you will need to look for alternative parking in the residential area nearby.
If you absolutely do not want to spend time on finding parking, you have the option of starting at Ohlone College instead.
Trail overview

The trail is well mapped out on AllTrails, though it would be good to also pick up a paper copy of the map when you start.
Beginning at the Stanford Avenue Staging Area, I recommend heading clockwise onto Hidden Valley Trail. It then connects to Peak Trail which takes you all the way to the Mission Peak pole and summit.
Afterwards, continue along the Horse Heaven Trail and then the Peak Meadow Trail that leads you all the way down to your starting point.
- Distance: 6 miles (loop)
- Duration: 4 to 4.5 hours
- Elevation gain: 2,152 ft (656 m)
- Difficulty: Moderate to strenuous
What to bring for Mission Peak (first-timers)
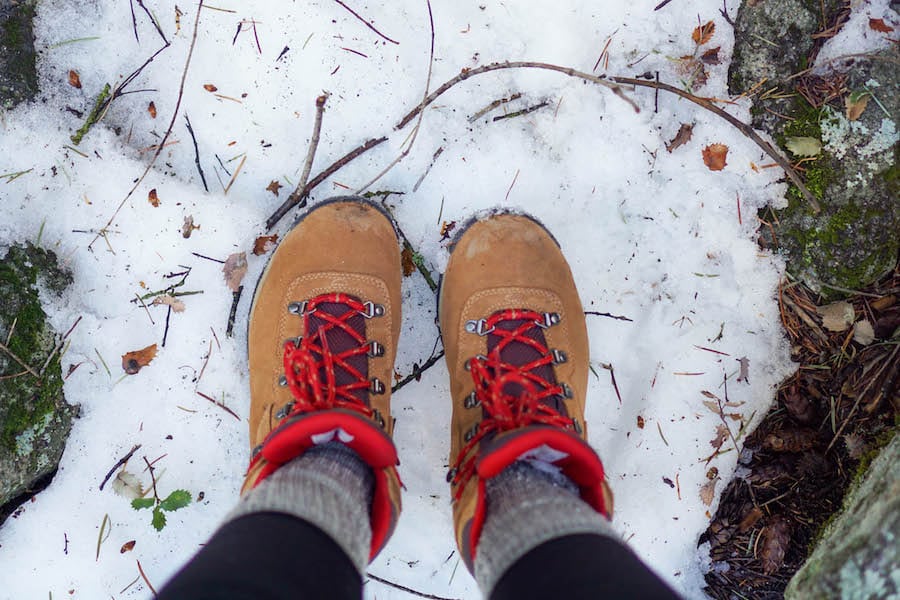
🥾 Trail runners or hiking boots with good grip
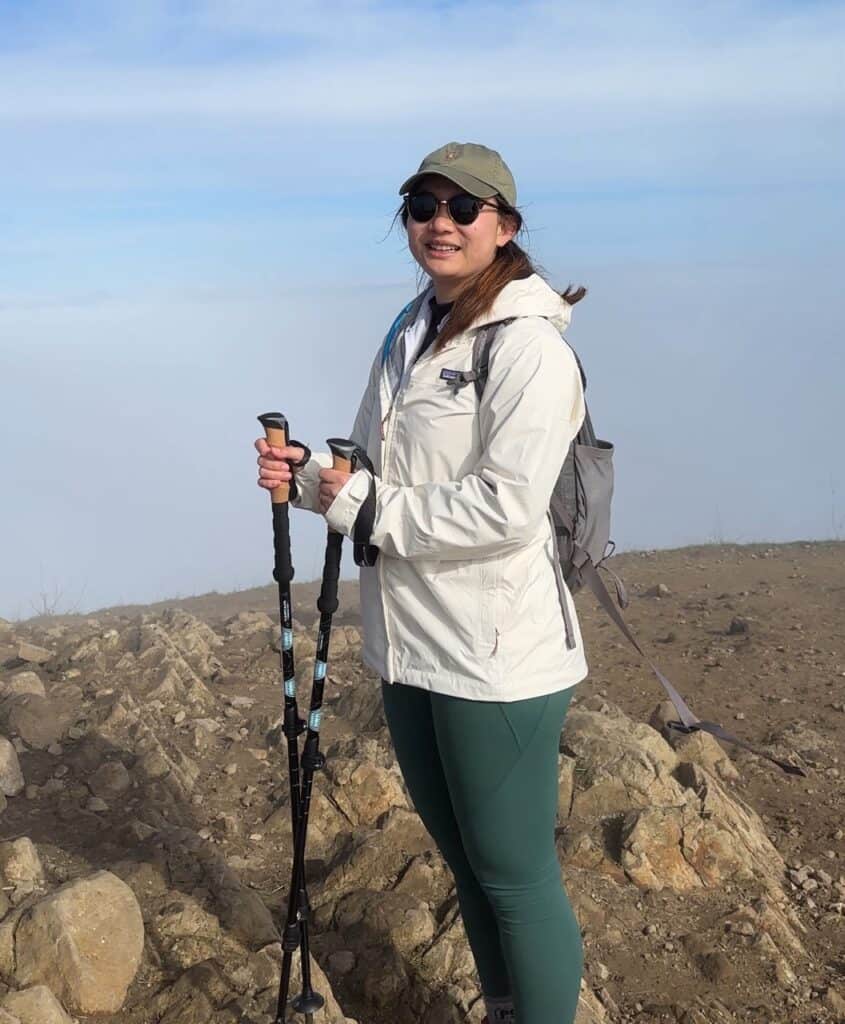
☀️ Sun hat + sun hoody (very exposed trail)
🦯 Trekking poles (especially helpful downhill)
🥤 At least 1.5–2L of water (I use this water bladder)
🎒 Day hiking backpack
How long does it take to hike to Mission Peak
Starting from the bottom, it takes between 2 to 2.5 hours to get to the top of Mission Peak. If you’re fitter than average, it may even take just 1.5 hours.
It’s best to take frequent breaks, maybe every 30 minutes or wherever you find a bench. After a while, you’ll get used to the incline and will be able to go at a consistent pace.
Best time to hike Mission Peak Trail

The best time to hike Mission Peak is during the cooler months in winter and spring since most of the hike is not sheltered. Although you have more rainy days at this time, it helps to wait a day or two after the rain to let the trails dry out a little. Winter time also brings clearer views as the chance of fog is lower. We went on this hike in January and the weather was perfect.
What you’ll see on this hike
On a clear day, you can see up to the Sierra Nevada mountains toward the east. Nearby, you’ll also be able to see Mount Tamalpais, Mount Diablo, and the Santa Cruz mountains across the bay.
The lower parts of the trail are covered in grass over rolling hills, so do expect to see some cows. Once you get to the top, you’ll see the Mission Peak pole which you can take a picture with against the view of the Bay Area.
Trail map
I recommend downloading offline Google Maps so that you can use GPS to see where you are going and follow the correct route. This hike is a fairly straightforward loop, but it’s worth noting the various view points where you can rest.
In addition, take note of the intersections where you should keep to your trail to avoid getting lost. There will be signs along the way telling you which direction to turn for any specific trail.
You can make a copy of this Google Map for your reference. Alternatively, download the digital map from the official website.

Where to park near the Mission Peak trailhead
Since we’re starting at the classic Mission Peak Trailhead, the first place to check is Stanford Avenue Parking Area. It fills up quickly on weekends, so if you arrive after 8am, consider public parking along Vineyard Avenue and Antelope Drive. You’ll have a slightly longer distance to cover depending on where you eventually park.
Note that the rest of the streets require permit parking and are meant for the residents there, so if you have no other choice, consider parking at Ohlone College. There are 900 spots of paid parking spots there, but you’ll follow a different route to Mission Peak that’s slightly longer.
Safety on the trail

To make the most of your adventure, it’s essential to come prepared. Here’s a checklist to ensure you have everything you need.
Hiking essentials and comfort items
- Hiking boots or shoes: Comfortable and supportive footwear is a must so you’ll have the best experience. Waterproof boots can be useful for muddy trails.
- Hiking day pack: It should have enough space to store snacks, water, and any extra clothing. Here are some affordable hiking backpacks below $100 to consider.
- Water: Stay hydrated, especially during warmer months. Water reservoirs with up to 3-litre capacity are useful for longer hikes. In general, bring at least 0.5 litres for every hour of hiking.
- Map and navigation: Having offline trail maps adds an extra layer of security. Offline Google Maps also helps.
- Snacks: Pack energy-boosting snacks to keep you fueled throughout the hike. These could be energy bars, nuts, or some sweets.
- Sun hoody: This UPF 50+ sun hoody is very breathable, comfortable, and blocks her 98% of UV from reaching your skin.
- Sunscreen and cap: Protect yourself from the sun, especially during the open sections of the trail.
- Layered clothing: For example, bring a fleece sweater and wear a sweat-wicking base layer. Rain jackets can also act as a windbreaker.
- Camera
- Phone tripod: If you’re hiking alone, having a phone tripod is great for filming shots of yourself.
- Trekking poles: Provide extra stability on uneven terrain and downhill sections.
Terrain conditions

After a period of heavy rain, the trails can become muddy especially along the Horse Heaven Trail. It’s important to wear shoes or boots that give you good traction to avoid slipping. Here is an article about the best hiking boots for women if you’re looking for a new pair.
When you’re almost at the top, you’ll find that the trail has a lot more rocks to walk over, compared to the dirt and gravel paths that led you up. It’s not exactly a rock scramble at this point, but it helps if you have good balance.
Overall, I found trekking poles extremely helpful on the rocky descent and muddy sections. If you’ve never used them before, lightweight collapsible trekking poles are ideal for Mission Peak since you can stash them when not needed.
Animals

Avoid coming between a mother cow and her calf because they are known to get aggressive when trying to protect their young. Otherwise, the cows you come across are very docile and don’t bother with hikers who don’t present a threat.
I might have tried to have a conversation with a young calf because it was so cute, but quickly stopped as I remembered this safety tip.
There is also a small chance of encountering rattle snakes during warmer seasons. They tend to hide in tall grass and bushes but only strike when threatened. For your safety, stay on the trail and if you see a snake, wait for it to leave before you continue towards it. Wearing covered shoes and long pants are beneficial too.
Mission Peak Trail trip report
Parking at Antelope Drive
It was a Monday holiday and we arrived at Stanford Avenue just before 9am. Needless to say the parking lot was full. Vineyard Avenue is usually the next street to get filled up, followed by Antelope Drive which still had plenty of space when we arrived so we parked there. In that case, our hike technically started at Antelope Drive. After using the toilet at the trailhead, we grabbed a physical map and started our hike.
Resting at benches and viewpoints

Given how people talk on reddit about the Mission Peak hike being difficult, I was surprised to see lots of groups and families here. The trail actually starts off quite pleasantly, with a steady incline that is manageable for most people. I’m thankful for the recent rains as it means we have green rolling hills of grass as our scenery.
The Hidden Valley Trail has about 5 benches over 2.2 miles, each overlooking the Bay Area. The first few benches we came across were occupied so we waited until we got further up to grab a bench.
Do remember to bring a snack for the hike as it will really make a difference in your energy levels. If you’re burning about 300 to 500 kcal of calories for every hour of hiking, it makes sense to have an energy bar or some nuts every hour or so. I don’t know about you, but I’m definitely motivated by snacks.
Good snacks for Mission Peak hikes:
- Protein bars that don’t melt
- Trail mix with quick carbs
- Electrolyte chews or powders
Arriving at Mission Peak
The last push was definitely the most challenging and I had to stop to catch my breath a few times on this stair master-like ascend. There were people coming down as well which made it a bit congested and we had to make way while balancing on the rocks.
Finally, we made it to the top and we were standing above the fog. The Mission Peak pole was ever so popular and people were crowding around it for photos. Still panting from the final stretch, we decided to sit by the rocks to wait out the crowd. It got cold quickly because of the wind so we put on some warm layers. Now we’re ready to snack on some blueberries.
The view from Mission Peak is really impressive and even though the fog was rolling in and out, we could see Mount Diablo towards the east and Mount Tamalpais in the north. We walked around the peak for a little bit to get better vantage points, and then came back to take the mandatory photo with the Mission Peak pole.
Descending via Horse Heaven Trail

Eventually, we made our way down as we remembered our plan to feast at Jollibee later on in Milpitas. Surprisingly, we didn’t see a lot of people taking this route. That leads me to think that most people hike out and back, which does make sense for those who parked at Ohlone College.
We usually prefer to complete the loop instead of hiking out and back so that we can enjoy a variety of views and scenery. Since the Horse Heaven Trail was emptier, we had all the benches to ourselves and didn’t have to make way for anyone. There were more shaded paths here, and we passed a few small streams which was a welcome change from the dry rocks at the peak.
There are several steep sections here which look much more difficult to climb up compared to the incline at Hidden Valley Trail. Looking back, I am glad we chose to go downhill on this route – otherwise an uphill climb here would have knocked me out.
You’ll know you’re getting close to the end when you see the grazing cows once again. The rest of the way is straightforward as you head downhill all the way back to Stanford Avenue.
Shop hiking gear
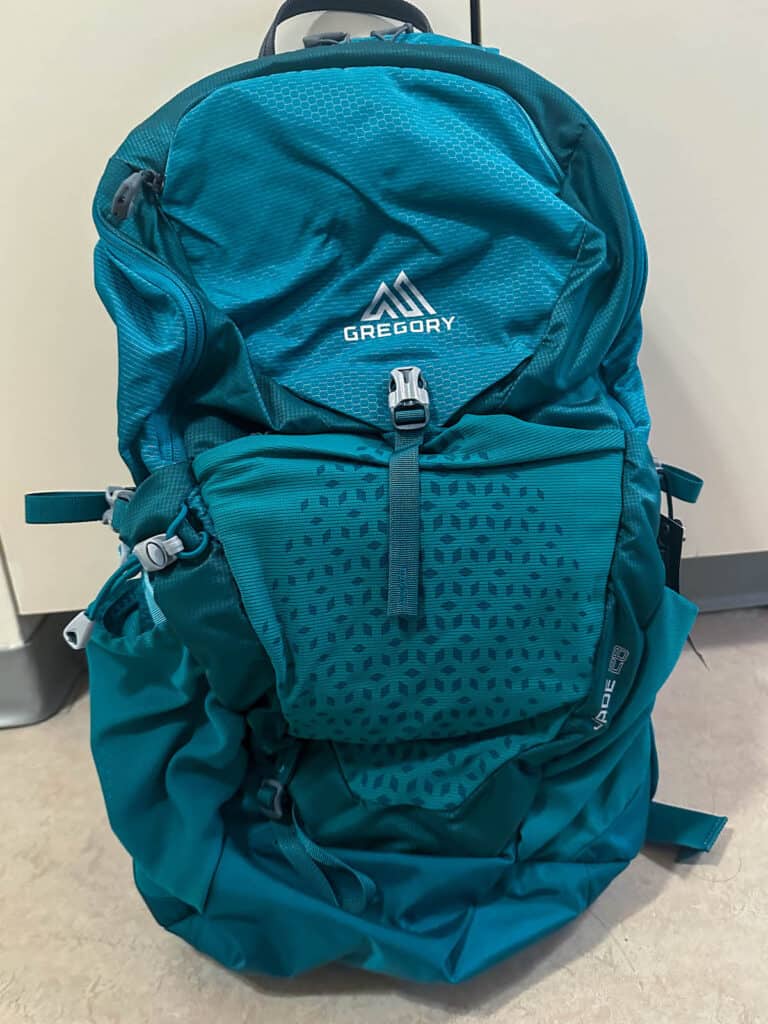
A reliable hiking day pack for carrying essentials – even comes with a rain cover.
Patagonia Torrentshell 3L Rain Jacket
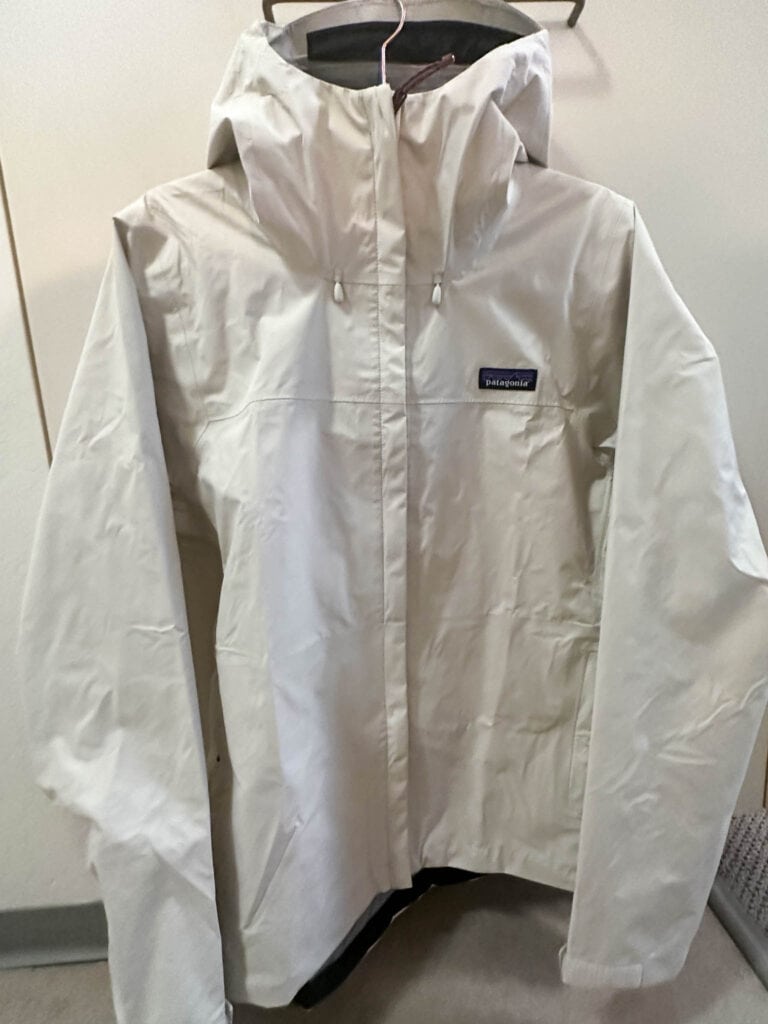
Keep dry and comfortable with a reliable waterproof jacket for unpredictable weather.
Cascade Mountain Tech Trekking Poles
Lightweight hiking poles that support you both uphill and downhill.
Columbia Benton Springs Full Zip Fleece
Insulating mid layer fleece that repels water and keeps you warm.
Frequently asked questions
Why is Mission Peak so popular

Mission Peak is popular because of the challenge of having to hike up 2,000 ft to get to a popular art installation that is the Mission peak pole, along with the possibility of seeing the Sierra Nevada mountains. There are tons of cool places to visit in the Bay Area, and Mission Peak is definitely a bucket-list thing to do.
How many calories do you burn hiking Mission Peak
For this 4 hour hike, you’ll burn around 1,200 to 1,600 kcal calories! That’s assuming you burn about 300-400 kcal per hour which is the case for me.
How steep is Mission Peak
You’ll gain 2,152 ft of elevation over 3.1 miles, with an overall 8° incline angle. It’s not surprising that people hike here as training, but nothing compares to the 45° steepness of Half Dome in Yosemite. Once you get to the top, the Mission Peak elevation is 2,520 ft (768 m) which gives you a birds’ eye view of the Bay and surrounding hills.
How do you prepare for Mission Peak
- Cardio exercises are helpful for building stamina on the uphill sections
- Strengthening your quads with single leg exercises including lunges and leg extensions will help to build muscle that can help cushion your steps when going downhill
- If you can’t reach Mission Peak the first time, try again the next time as you work up both your stamina and leg strength in a sustainable way
Gear-wise, having proper footwear and poles will reduce fatigue significantly, especially on the downhill, especially on the downhill sections where most people struggle.
Is Mission Peak kid friendly
Older kids might be able to take on this trail, with the main concern being the larger rocks that make up the final push up to the peak. However, you could always bring younger kids in a carrier that you wear on your back to make it a family activity.
Can beginners hike Mission Peak
Yes! There aren’t particularly dangerous or technical sections here. Going slow and steady with frequent breaks is okay. Here’s a translation of a Chinese quote I really like – resting is for the purpose of going further. In any case, there are many people who come here to hike so you won’t be completely alone.
More of my travel guides to help you plan your classic California experience
Lassen Volcanic | Lake Tahoe | Yosemite | Point Reyes | San Francisco Day Trips | Half Moon Bay | Pescadero | Big Sur | Santa Cruz | Monterey | Carmel-by-the-Sea | Catalina Island | Death Valley | 10-day California Road Trip | Rental car tips | Bay Area Must-Visit Places
Not sure where to start? I have some ideas for your California trip!
Best stops along California’s coast | Must-go for outdoor lovers | Best winter camping | Bucket-list backpacking trips | Best SF Bay Area hikes | Best California Glamping | Best beach towns


